These are some of the most frequently asked questions about Montessori mobiles, gathered for parents who want to better understand how they support the first months of development. From when to introduce each mobile to where it should hang and how long to use it, it isn’t always easy to know which advice fits your baby’s stage of development. This page brings together clear, practical answers about early visual development, tactile materials, and DIY kits, with links to more detailed guides whenever you’d like to explore a topic further.
Understanding Montessori Mobiles
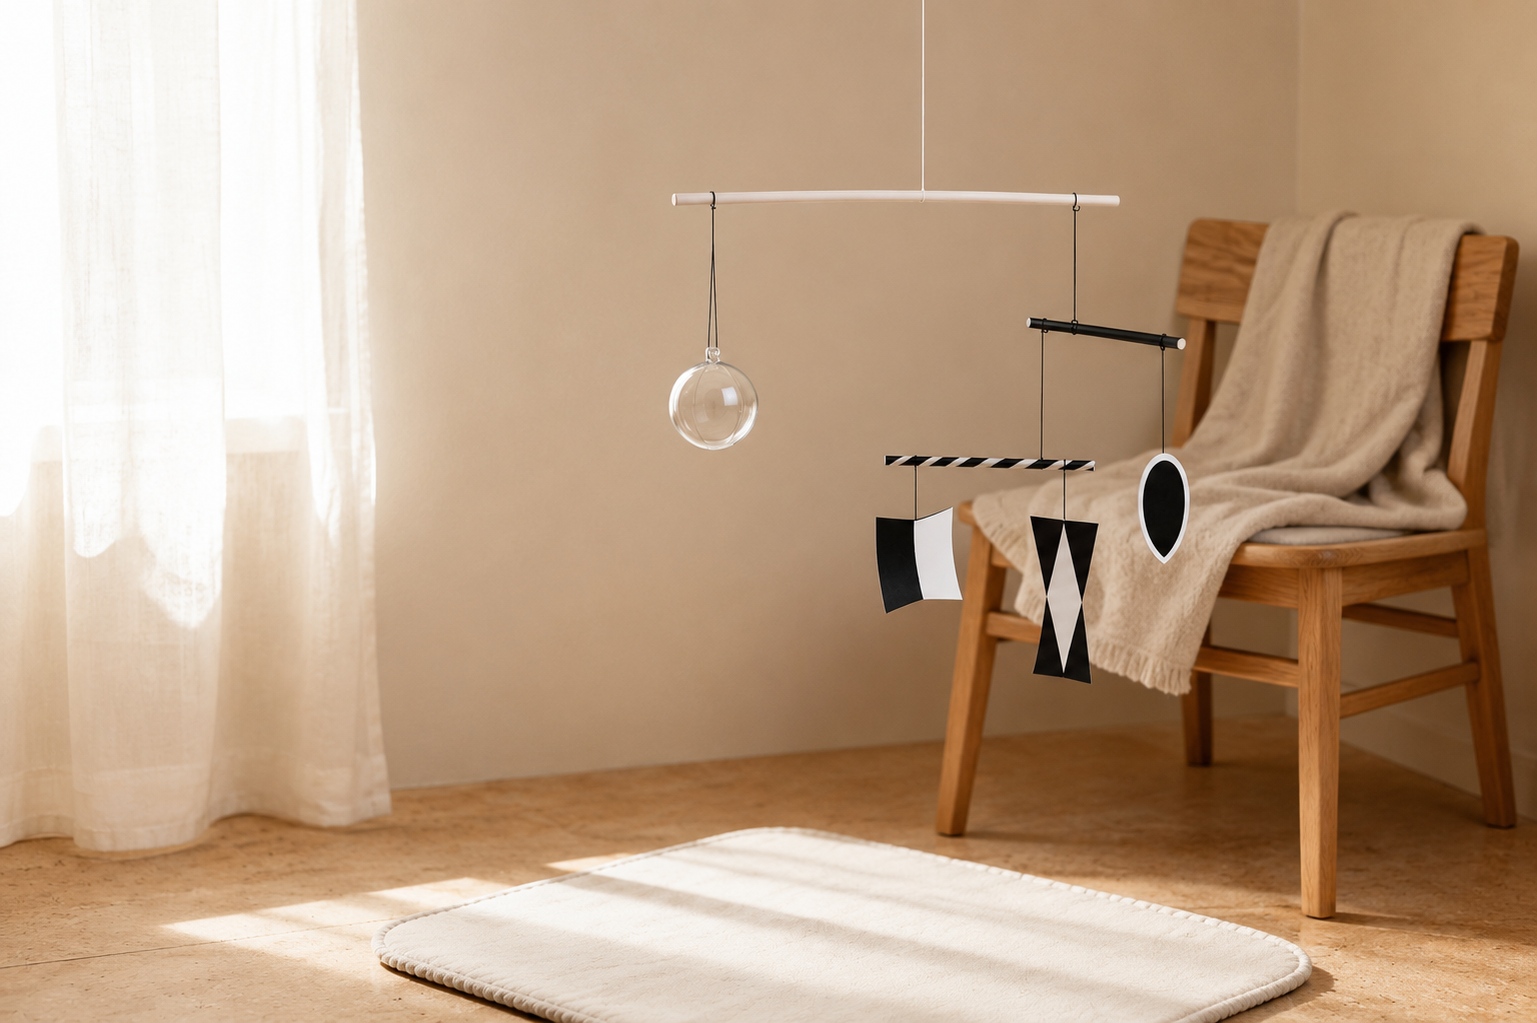
What is a Montessori mobile?
A Montessori mobile is one of the first Montessori materials a baby may encounter. Rather than decorating the nursery or keeping babies entertained, Montessori mobiles are designed to match the gradual development of vision during the first months of life.
Each mobile introduces a different visual experience, following a carefully considered sequence as your baby’s sight becomes more organised. As reaching and grasping begin to emerge, visual mobiles are naturally followed by Montessori tactile mobiles.
If you’d like to explore the sequence in more detail, you can also read the guide to Montessori Visual Mobiles.
Do babies need Montessori mobiles?
Montessori mobiles are not essential for a baby’s healthy development. The Montessori approach is less about owning specific materials and more about understanding how your baby’s abilities unfold and preparing an environment that supports them. If you decide to use Montessori mobiles, they should be introduced because they match what your baby is ready to observe, not because every family is expected to have them.
One of the most valuable Montessori skills is learning to observe your baby rather than following a fixed timeline. The guide to observing your baby’s development explains what to look for during the first months.
Are Montessori mobiles toys?
Montessori mobiles are not toys in the traditional sense. Rather than entertaining or distracting babies, they are carefully prepared visual materials designed to be observed. Each mobile is introduced at a particular stage of visual development, offering simple visual experiences that match what a baby is ready to see. As babies begin reaching intentionally, visual mobiles naturally give way to Montessori tactile materials, supporting the next stage of development through exploration and movement.
If you’re wondering how Montessori materials compare with many popular baby toys, Montessori Alternatives to Popular Baby Toys (0–6 Months) explores the differences in more detail.
What makes Montessori mobiles different?
Unlike many nursery mobiles, Montessori mobiles are designed to follow a baby’s development rather than decorate the room or provide continuous stimulation. Each mobile focuses on one visual experience at a time — contrast, colour, movement, depth, or later tactile exploration — so the baby has something clear and simple to observe. This simplicity is what makes them different: they are not trying to do more, but to offer the right amount at the right moment.
If you’re curious why Montessori often favours simpler materials over more stimulating toys, Montessori Baby Materials: Why Simpler Toys Often Hold Attention Longer explores the idea in more detail.
When should I introduce Montessori mobiles?
Montessori mobiles are introduced gradually, following a baby’s visual development rather than a fixed schedule. While there are typical age ranges for each mobile, every baby develops at their own pace. Instead of changing mobiles because the calendar says so, observe your baby and introduce the next stage when they appear ready for it.
The Montessori Mobile Timeline explains when each mobile is typically introduced and how the sequence follows the natural development of vision.
Which Montessori mobile comes first?
The Munari mobile is traditionally the first Montessori mobile introduced after birth. Its simple black and white shapes are designed to match the way a newborn’s vision is developing during the first weeks of life. From there, the sequence gradually progresses through the Octahedron, Gobbi, and Dancers mobiles, each introducing a new visual experience as your baby’s vision becomes more refined.
Why are Montessori mobiles introduced in a sequence?
Montessori mobiles are introduced in a sequence because a baby’s vision develops gradually during the first months of life. Each mobile reflects a different stage of visual development, introducing new visual experiences as your baby becomes ready for them. Rather than offering everything at once, the sequence follows the natural progression of early vision.
How long should my baby use each Montessori mobile?
There is no fixed amount of time. Some babies may observe the same mobile for several days, while others remain interested for much longer. Rather than changing mobiles according to the calendar, watch your baby’s level of interest. When they no longer spend time looking at the mobile or seem ready for a new visual experience, it is usually time to move to the next stage.
What if my baby isn’t interested in a Montessori mobile?
It is completely normal for a baby’s interest to vary. Some babies spend long, quiet moments observing a mobile, while others glance at it briefly before looking away. This does not necessarily mean the mobile is wrong or that you have missed the right stage.
In Montessori, observation matters more than following a fixed sequence. If your baby seems uninterested, give them time, try again another day, or move on when they appear ready. The sequence is a guide, not a rule.
If you’re unsure whether your baby’s response is typical, How Babies React to Montessori Mobiles explains some of the different ways babies engage with the mobiles during the first months.
Using Your Montessori Mobiles
Where should I hang a Montessori mobile?
A Montessori mobile should be hung above a movement area where your baby can lie awake, calm, and free to observe. It should be positioned within your baby’s field of vision, but always safely out of reach. Rather than hanging it over a cot or using it to help your baby fall asleep, Montessori mobiles are intended to be part of your baby’s awake time, encouraging quiet observation and concentration.
5 Common Mistakes When Using Montessori Mobiles explains where to hang a mobile, when to use it, and some of the most common mistakes parents make during the first months.
How high should a Montessori mobile hang?
A Montessori mobile should usually hang low enough for your baby to see clearly, but high enough that they cannot reach it. As a general guide, the lowest element of the mobile should hang around 30 cm (12 inches) above your baby’s chest while they are lying on their back. This allows the mobile to remain within comfortable viewing distance without becoming accessible.
The exact height depends on your baby, the mobile, and the way it is hung. The most important rule is safety: once your baby begins reaching or pushing up, the mobile should be moved further away or removed.
Do I need a Montessori mobile stand?
No. A Montessori mobile stand can be a practical option, but it is not essential. What matters most is that the mobile can be hung safely above a movement area at the right height for your baby to observe it comfortably. Some families use a dedicated stand, while others suspend the mobile from a ceiling hook or another secure fixture.
What are Montessori tactile mobiles?
Montessori tactile mobiles are introduced when babies begin reaching intentionally, usually after the sequence of visual mobiles. Rather than encouraging observation, they invite babies to touch, grasp, and explore with their hands, supporting the development of coordination and purposeful movement.
Montessori Tactile Mobiles explains when they are introduced, how they differ from visual mobiles, and how they support the next stage of development.
When should I introduce Montessori tactile mobiles?
Montessori tactile mobiles are usually introduced when your baby begins to reach with intention, often around 2 to 3 months. The exact timing depends less on age and more on what you observe: hands opening more often, arms moving with greater purpose, and a growing interest in touching nearby objects.
At this stage, tactile mobiles such as the ring on ribbon, bell on ribbon, or grasping beads offer something simple to reach for, touch, and eventually grasp. They mark a natural shift from visual observation toward early hand coordination.
DIY Kits
Why are your Montessori mobiles DIY kits?
Montessori mobiles are offered as DIY kits because the focus is on making authentic Montessori materials more accessible, not on selling finished products. Many parents enjoy creating something for their baby, while others simply appreciate having carefully prepared materials without needing to source individual components or work out the details themselves.
Every kit includes the materials and step-by-step instructions needed to assemble the mobile, making it suitable even if you’ve never made one before.
If you’re wondering whether to make or buy Montessori baby materials, Should You Buy or DIY Your Montessori Baby Materials? explores the advantages of both approaches and why DIY isn’t the right choice for every family.
What is included in a DIY kit?
Every DIY kit includes the materials needed to make the chosen Montessori mobile, along with clear, photo-supported step-by-step instructions. Depending on the mobile, this may include pre-cut shapes, thread, wooden elements, beads, ribbons, or other carefully selected components. Any additional items you may need, such as scissors or glue where applicable, are clearly listed on the product page before you buy.
Each product page also includes a full contents list, so you know exactly what to expect before your kit arrives.
Do I need any special tools or crafting experience?
No special crafting experience is needed. The DIY kits are designed to be approachable, with clear instructions that guide you through the process step by step. Most mobiles require only simple tools such as scissors, glue, or a needle, depending on the kit.
If a material needs anything less common, such as pliers or a sewing machine, this is clearly mentioned on the product page before you buy.
How long does it take to assemble a mobile?
Most Montessori mobiles can be assembled in under an hour, although the exact time depends on the design and your experience. Some are very straightforward, while others involve a little more preparation or precision.
The instructions are designed to guide you through each step, so there is no need to rush. Many parents enjoy assembling the mobiles during pregnancy or in the early weeks before their baby begins using them.
Ordering & Support
Can I personalise my Montessori mobile?
Some Montessori mobiles allow for a small amount of personalisation, while others need to follow a more specific structure. For example, colour choices may be available for certain mobiles, while mobiles such as the Munari follow clearer proportions and contrast principles.
If personalisation is available for a particular kit, it will be shown clearly on the product page before you order.
What is your returns and refunds policy?
Returns and refunds are handled in accordance with the shop’s return policy and applicable consumer protection laws. If you have any questions before or after placing an order, you’re always welcome to get in touch.
You can find the full details on the Returns & Refunds page.
Still have a question?
Every baby follows their own path, and it’s perfectly normal to have questions along the way. If you can’t find the answer you’re looking for here, you’re always welcome to get in touch. I’ll do my best to help, or point you towards a resource that might.
In the meantime, you may also enjoy exploring the blog, where you’ll find more detailed articles on Montessori mobiles, baby development, observation, and creating a prepared environment at home.